
Guides
19 Oct 2026

Can’t Reach the Faucet Nut? Choose the Right Tool Before You Buy
Not sure which tool fits your faucet nut? Identify the fixing, see how it lets go and check your clearance first. Then choose a tool, or use one you own.
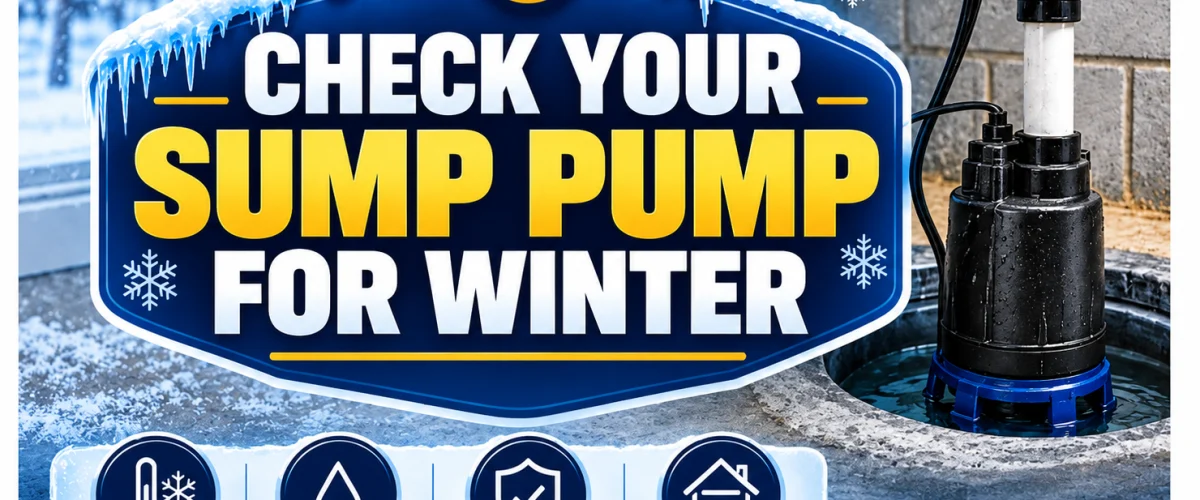
Sump pump winter checks: pump, basin, discharge route and backup. What to inspect, how to test with your own manuals, and when to ask a plumber.
Please note: Information in this guide is based on our research at time of writing and is subject to change. Check your pump maker’s instructions and your local requirements for discharge routing before making changes.
A sump pump stands by in a basement or crawlspace to move groundwater out of the basin when the water rises to its trigger level. In winter, one part of the system that can be exposed to the weather is the discharge line, the pipe that carries pumped water away from the house. That line is often routed at least partly outdoors, along an exterior wall or across the yard, and a cold enough, long enough freeze can block an outdoor section.
If ice blocks a discharge line, the pump may still run while the water has nowhere to go. This guide covers checks for the pump, the basin, the discharge route and any backup, so you can find problems before a hard freeze: inspecting the discharge route, checking insulation on exposed sections, inspecting where the discharge ends, and testing the pump and any backup using your own manuals. Your pump maker’s instructions and local rules come first.
At a Glance
| Main Risk | Ice in an exposed discharge line, among other possible winter problems with the pump, float, power and backup |
| Best Time to Winterize | Before the weather turns cold, so there is time to check each part |
| Tools Needed | Your pump’s manual, a flashlight and a bucket; insulation or heat cable only if the maker’s instructions and your exposed pipe call for it |
| Time Needed | Varies with the length and route of the discharge line |
✏️ Our Take
A sump pump system has several parts that can cause trouble in cold weather: the pump and its float, the power supply, the discharge route and any backup. The discharge line (the pipe that carries pumped water away from the house) is one of them: a section running outdoors or through an unheated space can freeze, and the pump may then keep running while water has nowhere to go. This guide works through checks for each part, following your pump maker’s instructions, and says when to ask a plumber or the maker.
IN THIS GUIDE
Many seasonal systems can be shut down for the winter, but a sump pump is meant to stay ready. Groundwater doesn’t stop moving in winter, and snowmelt or rain on cold ground can add water that the basin has to handle, so the pump may be called on at any time of year.
That is why the checks below cover the whole system, not only the pump. The discharge line sits outside the pit and can be exposed to outdoor air, so it is one of the parts to inspect before freezing weather, along with the float, the power supply and any backup.
Because a sump pump works in the background, it is easy to forget until something fails. Many owners check it as part of routine seasonal home care, using the maker’s maintenance instructions. If your current pump is aging or unreliable, our sump pump reviews cover options worth considering before the season starts.
Any portion of the line exposed to outdoor air — along an exterior wall, crossing an open yard, or ending above ground — is exposed to the outdoor temperature. Because the line carries water only while the pump runs, a long enough cold spell may be able to freeze water left in it.
If ice blocks the line, water pumped up from the basin cannot get out. What happens next depends on the installation: water may drain back toward the basin where there is no check valve or the valve isn’t sealing (your pump’s manual shows how yours is meant to be installed), the pump may run longer without moving water, or pressure may build against the blockage. The basin could then fill faster than it is pumped out.
The steps below cover checking the discharge route, its insulation and its outlet, and then the pump and any backup.
Start by tracing the discharge route so you know which parts are exposed and how the system is arranged. Note the discharge arrangement your pump maker and local rules allow, because any later change has to fit it.
Once you’ve mapped the route and flagged the exposed sections, you can check their insulation, which is the next step.
Insulation slows heat loss from the pipe; it does not add heat, and it does not ensure that a line used only intermittently stays clear in a long freeze. Check whether the exposed sections have suitable insulation and whether anything should change.
Next is the far end of the line, where water exits the system.
The discharge point, where water leaves the system, also needs checking. This is an inspection rather than a prompt to change the route: any alteration has to suit your pump’s permitted discharge arrangement, drainage requirements and local rules.
With the outlet checked, the next steps look at the pump and any backup.
A test shows that the system operated when you ran it. It does not establish that the pump, discharge line or backup are ready for winter. Follow the test procedure in the manual for your exact pump.
A successful test shows the pump operated at that time. It does not show how the system will handle a long outage, heavy inflow or a frozen discharge, so check the backup if you have one, and keep an eye on the system.
A battery backup is meant for situations such as a power outage or a primary pump failure. Follow the manual for your exact system for testing and maintenance, since procedures differ between systems.
Check the battery and any indicator as the manual directs. An indicator light or a voltage reading does not by itself establish how long the backup can run: that depends on the battery’s condition and capacity, the pump and how much water arrives. A battery that is several years old may not give the runtime you expect, so follow the maker’s replacement guidance.
Don’t assume that losing power starts the backup. Basement Watchdog, for example, says its backup pump starts when water reaches the backup pump’s own dual float switch, such as when power is interrupted so the primary pump can’t run, the primary fails, or more water arrives than the primary can handle. Testing procedures vary by system: Ann Arbor’s checklist, for example, describes unplugging the primary pump and adding water until the backup runs, then plugging the primary back in, but unplugging alone is not a test. Use your system’s own test steps.
Also check how the backup’s discharge connects. If it shares the primary pump’s discharge line, a blockage in that line can affect both pumps. If you don’t have a battery backup yet and are weighing one, our sump pump vs battery backup sump pump comparison covers that decision.
If your sump pump setup needs more than a seasonal check — a failing pump, a damaged discharge line, or a basin that’s no longer keeping up — search PlumberArchive.com — the US plumber directory with 12,000+ verified local plumbers across all 50 states.
Get weekly plumbing tips and DIY guides delivered straight to your Facebook feed.
A pump that runs continuously without the water level falling can have several causes, and ice is only one. Others include trapped air (some pumps and installations have a vent or weep hole for this; Zoeller says to check its vent hole periodically for clogging), a float that is stuck or obstructed, a failing pump or switch, a problem with the check valve or discharge, or more water arriving than the pump can handle. Ann Arbor’s checklist notes that a pump shouldn’t have to run all the time.
Ice on the outside of a pipe doesn’t prove that there is a blockage inside it, and a clear outside doesn’t rule one out. If you suspect a frozen discharge, follow your pump maker’s shutdown and troubleshooting instructions and get prompt help from a plumber or your pump maker. Running against a blockage may strain the motor, but switching the pump off also removes flood protection, so don’t decide between the two on your own: if the basin is filling, you can’t find the cause, or you aren’t sure what is safe to do, including around the electrical supply and standing water, get help promptly. The Red Cross says not to use a blowtorch or other open-flame device to thaw frozen pipes.
If a section keeps freezing despite insulation, ask a plumber or your pump maker how to protect it for your setup. This same risk applies to the rest of your home’s plumbing — our how to prevent frozen pipes guide covers winterizing supply lines and other pipework beyond the sump pump discharge line.
An indoor location doesn’t establish that the pump, basin or discharge is protected from freezing. The pit is usually inside the foundation, but unheated spaces can be cold, and the discharge line may run through them or outdoors. Winter problems can also come from power loss, a stuck float, a blocked or frozen discharge, or a backup that isn’t ready, so check each against your manuals.
You can’t tell from one sign. A pump that runs or cycles repeatedly without the basin level dropping can point to a blockage, but also to other causes such as trapped air, a stuck float or a failing pump. Water backing up around the basin or pooling on the floor needs attention whatever the cause. Ice on the outside of an exposed pipe doesn’t prove a blockage inside, and its absence doesn’t rule one out. If you can’t identify the cause, follow your pump maker’s troubleshooting instructions and get prompt help from a plumber.
A sump pump is designed to be ready when water rises, and an unplugged pump gives no protection, so don’t leave it unplugged unless your manual directs. Unplugging is appropriate while you are handling the pump or float for maintenance, done only from a dry location; reconnect it afterward as your manual directs.
Heat cable differs by product, so check the manual for the exact cable you own: whether it needs a separate thermostat or control, whether it is meant to stay powered all winter, what it allows for your pipe, and whether insulation is required or prohibited. Follow the manufacturer’s installation instructions closely and inspect the cable periodically through the season for visible damage.
Winterizing a sump pump system comes down to checking each part against its own instructions: the pump and float, the power supply, the discharge route, its insulation and outlet, and any battery backup. Insulation slows heat loss but doesn’t ensure an intermittently used discharge line stays clear, and a successful test shows operation only at that time. Do the checks before the weather turns cold; our roundup of the best battery backup sump pump systems covers models worth considering for a backup. If you aren’t sure of the cause of a problem or the safe response, ask your pump maker or a plumber.
✍️ About This Guide
PTR Editorial Team — Plumbing Guides. We compare manufacturer specifications, installation requirements, compatibility and available product documentation to help homeowners choose suitable tools and parts. How we review →
Not sure which tool fits your faucet nut? Identify the fixing, see how it lets go and check your clearance first. Then choose a tool, or use one you own.
Check your manual and the drain route first: gravity hose, built-in pump or external pump. Then see whether you need a dehumidifier hose at all.
Explore portable bidets that need no water-line connection, from bottle caps and squeeze bottles to battery-powered handhelds.

