
Guides
19 Oct 2026

Can’t Reach the Faucet Nut? Choose the Right Tool Before You Buy
Not sure which tool fits your faucet nut? Identify the fixing, see how it lets go and check your clearance first. Then choose a tool, or use one you own.
How to use a pipe wrench: choosing the right size, jaw orientation and the pull stroke, the step-by-step method, and the mistakes that make it slip.
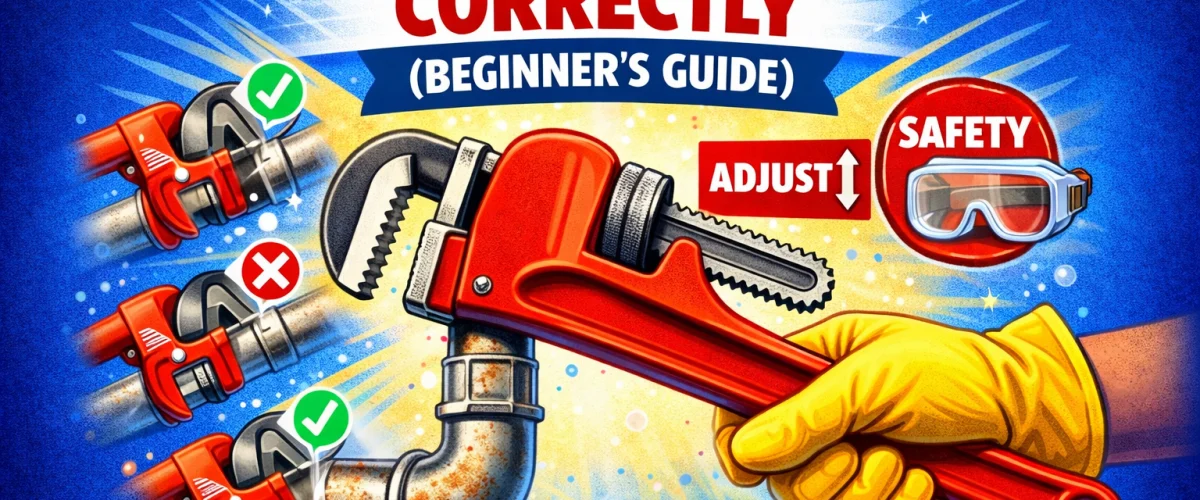
Please note: This guide is based on our research and hands-on experience at time of writing and is for general information only. If a fitting will not move after penetrating oil and correct two-wrench technique, stop before you crack an old pipe and call a licensed plumber. Any work on a gas line is a job for a licensed professional.
A pipe wrench is one of the most useful tools a homeowner can own. It is the go-to for gripping, tightening, and loosening threaded pipes and fittings — the job that comes up every time you take on a plumbing repair, swap a showerhead, or deal with a leaking joint under the sink. Unlike an ordinary wrench, a pipe wrench’s serrated jaws and self-tightening design give it a grip that bites harder the more force you apply, which is what lets it hold round pipe that a smooth-jawed tool cannot.
Used correctly, a pipe wrench is straightforward and safe. Used incorrectly, it slips, scars pipe, and strips fittings. This guide covers what you need to know — the wrench types, how to size one to the pipe, the step-by-step method, the mistakes beginners make, and how to work safely.
IN THIS GUIDE
At a Glance
| Skill Level | Beginner. Using a pipe wrench is a matter of sizing it to the pipe, orienting the jaw the right way, and pulling with steady force. Nothing is taken apart beyond the fitting you are working on. |
| Tools Needed | A pipe wrench sized to the pipe (a 14-inch covers most household work). For any fitting that is not anchored to a wall, a second pipe wrench to act as a counterhold. Penetrating oil for corroded joints, plus a rag and work gloves. |
| Time Needed | A few minutes for a routine fitting once the wrench is sized and positioned. A seized or corroded joint takes longer — penetrating oil needs time to work before you try again. |
| Critical First Step | Match the wrench size to the pipe diameter before you start. A wrench that is too small for the pipe gives a weak grip and slips under load — the most common beginner error. The wrench should always be larger than the pipe it is working on. |
✏️ Our Take
If you get one thing right with a pipe wrench, make it jaw orientation. The tool is built to bite on the pull stroke — the jaw tightens as you pull the handle toward you and loosens slightly as you push away — so the open side of the jaw has to face the direction you are turning. Set it backward and the wrench will slip no matter how hard you pull or how new the tool is. Size the wrench to the pipe, point the jaw the right way, pull smoothly rather than jerk, and back it up with a second wrench on anything that is not anchored.
Before picking up a wrench, it helps to know which type you are working with. Each style is built for a different situation, and using the right one makes the job noticeably easier.
The most common type, and the one most people picture. The fixed lower jaw and adjustable upper jaw line up straight with the handle, giving full leverage in open space. This is the wrench for the large majority of household plumbing — under sinks, at water-heater connections, on exposed pipework.
The jaw is angled away from the handle so you can reach pipe in tight or recessed spaces where a straight wrench cannot get enough swing. Useful inside a cabinet, close to a wall, or anywhere elbow room is limited.
Instead of fixed jaws, a heavy chain wraps around the pipe and locks in place. It grips irregular or odd shapes — large-diameter fittings, badly corroded surfaces, anything a jaw cannot seat on squarely. A specialist tool you will not need often, but hard to substitute when a conventional wrench will not bite.
The metal jaw is replaced with a rubber or nylon strap that grips firmly without marking the surface. This is the tool for chrome decorative pipe, polished fittings, and PVC — anywhere a scratch would matter. Never put a toothed pipe wrench on chrome or a decorative finish; the serrations leave permanent marks.
Pipe wrench size is given by handle length, and the handle length sets both the maximum jaw opening and how much leverage you have. Too small for the pipe and the grip is weak and insecure; too large and it is hard to control in tight spots. The rule is simple: the wrench should always be larger than the pipe you are working on.
Brand matters more here than with simpler tools — a cheap wrench has soft teeth that wear quickly, an adjustment nut that creeps under load, and a handle that flexes instead of transmitting force. If you are shopping for a wrench, see our full pipe wrench reviews for picks at every size and price point.
Follow these five steps every time and you will get a secure grip, maximum control, and the best chance of moving even a stubborn fitting without damaging the pipe.
Most pipe wrench problems trace back to a small number of avoidable errors. Know these before you start and you will save yourself frustration, damaged fittings, and unnecessary plumber call-outs.
A wrench too small for the pipe will not grip properly and slips under load, risking injury and scarring the pipe. Match the size to the pipe diameter using the guide above; when in doubt, go one size larger for more leverage and control.
The wrench bites on the pull stroke, not the push. Many beginners set it up so they are pushing the handle away and wonder why the jaw keeps slipping. Position the open jaw so that pulling the handle toward you is the working direction for the turn you want.
Grease, thread compound, and grime build up on the serrated teeth and cut grip badly. Wipe the teeth with a clean rag before each use, or a stiff brush if buildup is heavy. A clean jaw bites; a greasy one slips.
More torque is not better. Over-tightened threaded fittings crack, strip, or crush their seals past the point they are designed for — causing the leak you were trying to prevent. Hand-tighten first, then snug with the wrench; a quarter to half turn past hand-tight is enough for most household fittings, with the right thread sealant or tape on the threads. Check the manufacturer’s spec if you are unsure.
The teeth permanently scar chrome, nickel, and other finishes. For any polished, coated, or decorative surface, use a strap wrench — the rubber or nylon strap grips without marking.
A pipe wrench is a simple tool, but it is a heavy one operated under significant force. A few basic practices every time protect both you and the plumbing.
Heavy leather or cut-resistant work gloves protect your hands if the wrench slips suddenly. A slip at full torque sends the handle — and your knuckles — in a direction you do not want. Gloves are the single most effective safety measure when using any wrench under load.
Before applying force, plant both feet and get a stable stance. When a wrench slips — and at some point it will — your body follows the direction of the force. Standing off-balance when that happens leads to falls, especially in confined spaces like under a sink or beside a water heater. Position yourself so a sudden slip does not throw you into a wall, a cabinet, or the floor.
A cheater bar is a length of pipe slipped over the handle to extend reach and multiply torque. It overstresses both the wrench and the fitting, can snap the tool or the pipe, and voids the warranty. If a fitting needs more force than your wrench delivers safely, apply penetrating oil, give it time to work on the corrosion, and try again.
Worn or damaged teeth lose the grip that makes the tool work. Before each use, check that the teeth are sharp, evenly spaced, and undamaged — a worn jaw slips under load. Most quality wrenches have replaceable jaw sets, so a worn jaw is a maintenance item, not a reason to replace the whole tool.
Most threaded-pipe work is well within reach for a homeowner, but a few situations are worth handing off. If a fitting will not move after penetrating oil, correct jaw orientation, and a two-wrench counterhold, stop — forcing it further risks cracking the pipe, especially on old galvanized or corroded runs where the pipe wall may already be thin. The same goes for any joint where the pipe itself flexes or twists rather than the fitting turning: that points to a run that is not properly supported, or metal that is failing, and a plumber can assess it before something breaks inside a wall. Any work on a gas line is a licensed job, not a DIY wrench task.
If a fitting will not move after penetrating oil and correct technique, or the pipe itself is twisting rather than the joint, it is worth getting a professional to look before something breaks. Search PlumberArchive.com — the US plumber directory with 12,151+ verified local plumbers across all 50 states.
Get weekly plumbing tips and DIY guides delivered straight to your Facebook feed.
To loosen a fitting, turn counterclockwise — “righty tighty, lefty loosey” applies to threaded pipe fittings just as it does to bolts. To tighten, turn clockwise. The key with a pipe wrench is to orient the jaw so that the working direction — the one where you want the jaw to grip hard — is the pull stroke toward you. When the jaw is positioned correctly, pulling the handle tightens its grip on the pipe automatically.
You can, but carefully. Copper is soft, and a pipe wrench’s serrated teeth will mark it and can deform thin-walled copper if you apply too much force. Where copper is joined with threaded fittings, grip the fitting itself rather than the bare pipe. If you must grip the pipe directly, use a strap wrench. Never put a standard pipe wrench on a soldered copper joint — the force can crack the solder and cause a leak.
The usual causes are a jaw adjusted too loosely for the pipe, worn or dirty teeth, or using the wrench in the push direction instead of the pull direction. Check that the jaw fits snugly with minimal play and readjust the knurl if needed; wipe the teeth with a rag to clear grease or pipe compound; and confirm the open side of the jaw faces the correct direction for your working stroke. If it still slips after all that, the teeth may be worn and need replacing.
For basic jobs like swapping a showerhead or tightening a supply line, one wrench is usually enough. But for any job where you are turning a fitting on a pipe that is not fixed to a wall or solid structure — joining two pipe sections, removing a coupler, working on freestanding runs — you need a second wrench as a counterhold. Without it the pipe rotates or flexes the other way, stressing the joint and potentially cracking older pipe or fittings. If you are buying your first wrenches, a pair of 14-inch wrenches covers the full range of common household jobs.
A pipe wrench is a simple tool that rewards a few correct habits. Size it to the pipe — 10-inch for small, 14-inch for medium, 18-inch for large. Orient the jaw so the pull stroke toward you is your working direction, set it snug, and apply steady force rather than jerking. Back it up with a second wrench on any fitting that is not independently supported, and keep a standard toothed wrench off chrome and decorative surfaces — use a strap wrench there. Avoid the common mistakes — wrong size, pushing instead of pulling, dirty teeth, over-tightening — and the tool will serve you reliably for years.
Prices and ratings may change. Always check Amazon for current prices.
✍️ About This Guide
PTR Editorial Team — Plumbing Guides. We compare manufacturer specifications, installation requirements, compatibility and available product documentation to help homeowners choose suitable tools and parts. How we review →
Not sure which tool fits your faucet nut? Identify the fixing, see how it lets go and check your clearance first. Then choose a tool, or use one you own.
Check your manual and the drain route first: gravity hose, built-in pump or external pump. Then see whether you need a dehumidifier hose at all.
Explore portable bidets that need no water-line connection, from bottle caps and squeeze bottles to battery-powered handhelds.

