Please note: Product information is based on our research at time of writing and may change. This guide is general. Always follow the instructions that come with your sprayer kit, and check local plumbing code if you’re unsure.
Introduction
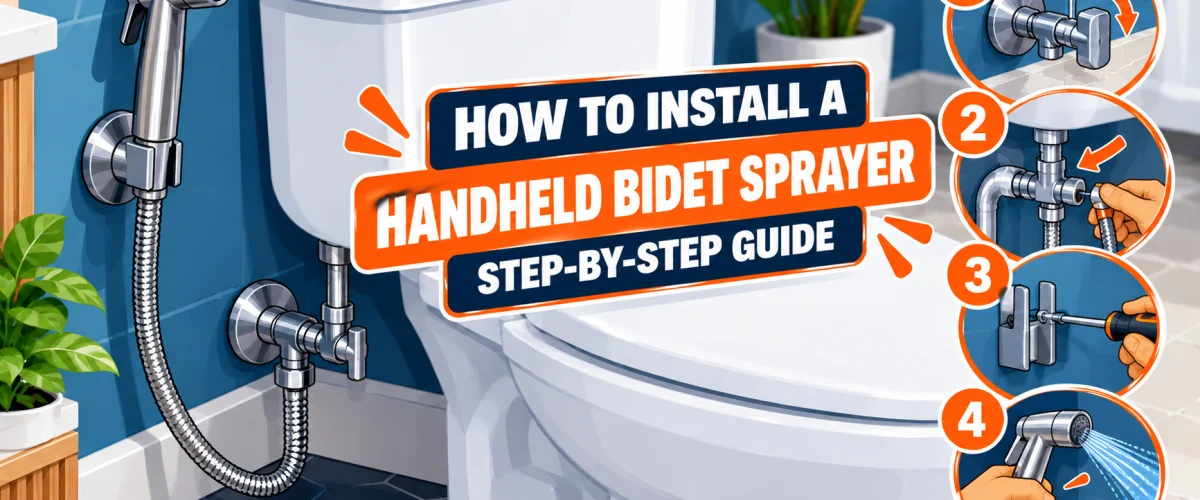
A handheld bidet sprayer is a small hose and spray head that connects to your toilet’s water supply and hangs in a holster beside the toilet. Unlike a seat-mounted bidet attachment, it doesn’t sit under the seat, so you don’t need to remove or refit the seat.
Most kits use a T-valve to share the supply line. The sprayer-specific parts of the job are the holster and the daily shutoff routine. To choose a kit first, see our handheld bidet sprayer review. If you’d rather have a seat-mounted unit, our attachment install guide covers that job, and the attachment vs. bidet seat comparison helps you decide.
At a Glance
| Difficulty |
Easy |
| Time |
30–45 Minutes |
| Cost |
$ for install materials (sprayer kit not included); a flexible supply hose only if yours is rigid |
| Tools Needed |
Adjustable wrench, screwdriver and a towel; drill and wall anchors only if you wall-mount |
| Skill Level |
Beginner |
✏️ Our Take
This is one of the simpler bathroom add-ons, and the step that matters most happens every day, not on install day: most kits need the T-valve turned off after each use. Pick a mount, follow your own kit’s instructions for the valve, and check every connection twice.
- Your sprayer kit, including the T-valve, hose, spray head and holster
- Adjustable wrench
- Screwdriver
- Towel or small bucket for drips
- Plumber’s tape, if a connection needs it (Brondell’s instructions mention it)
- For a wall mount only: a drill, a drill bit for the wall material, and wall anchors and screws (Brondell’s kit supplies drywall screws and anchors)
- A flexible supply hose, only if your current one is rigid. The manuals we read note that a rigid supply line may need a flexible replacement
Before You Start: Choose Your Mount
Two mounting styles are common, and the manuals we read describe both:
- Toilet mount. The holster attaches to the toilet tank with a clip and small screws. SANICARE’s manual lists this as its recommended option, and it needs no drilling.
- Wall mount. The holster is screwed to the wall near the toilet, using the anchors and screws in the kit. It gives you more flexibility if the tank isn’t a convenient spot.
If you go for a wall mount, mark the position before you drill and avoid water pipes behind the wall, as one of the manuals we read cautions. If your shutoff valve is old and won’t turn, that’s a good moment to call a licensed plumber. Our guide to removing a stuck or corroded shutoff valve covers it.
Step 1 — Shut Off the Water and Empty the Tank
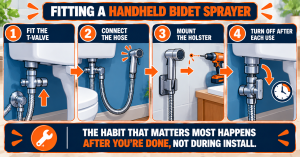
Turn off the toilet’s water supply at the wall, then flush to release the water in the tank. Disconnect the flexible supply line directly under the tank, as Brondell’s instructions describe. Keep a towel handy for drips.
Step 2 — Fit the T-Valve
Brondell’s instructions place a flat rubber washer inside the top of the T-valve, connect the T-valve at the toilet tank, and reconnect the supply line to the bottom of the T-valve. SANICARE’s manual connects the T-valve adapter’s hex nut to the tank without cross-threading. Whichever kit you have, follow its own diagram.
The valves themselves differ. Brondell’s works as a simple on and off valve, while SANICARE’s has a lever with set positions and a range of pressure in between. Check which one you have, since it changes how you control the sprayer later.
Step 3 — Connect the Hose
Attach one end of the hose to the open outlet of the T-valve and the other end to the spray head. SANICARE’s manual says hand tightening is enough, and its instructions name which hose end goes where, so follow your kit’s labels.
Step 4 — Mount the Holster
Fit the holster in the style you chose. For a toilet mount, attach it to the tank clip with the small screws provided. For a wall mount, hold the holster against the wall, mark the holes, drill pilot holes, insert the anchors and fasten the holster with the screws. Hang the spray head in it and check that the hose reaches comfortably without pulling on the T-valve.
Step 5 — Turn the Water On and Check for Leaks
Open the water supply at the wall slowly and check every connection. Brondell’s instructions say to wait 5 minutes and check again, and to use plumber’s tape where needed. SANICARE says that if a connection still leaks, you can tighten it an extra quarter to half turn. Stop when the leak stops.
Step 6 — Learn the After-Use Shutoff
This is the step that’s easy to forget. Brondell’s manual says to turn the T-valve off after each use, warning that failing to do so may cause flooding and water damage, and it repeats the warning three times. SANICARE’s says to turn the T-valve lever to the left (off) position after each use. Not every manual includes this instruction, and one generic manual we read doesn’t mention it, so check your own kit, and if you’re unsure, make the shutoff a habit.
Troubleshooting
Drip at the T-valve or hose. Turn off the water, undo the connection, check that the washer or cone seat is in place and the threads aren’t crossed, and refit it. Tighten only until the drip stops.
Weak or no spray. Check that the T-valve is open, the supply valve at the wall is open, and the hose isn’t kinked.
The holster is loose. For a wall mount, check the anchors are seated in the wall and the screws are tight. For a tank mount, check the clip is fully seated on the tank.
The spray head drips after use. That’s usually water left in the hose. Turn the T-valve off after each use and let the hose drain.
A Note on Plumbing Code
A sprayer on a hose is a different kind of connection from a built-in bidet fixture, and backflow rules for hose-connected fixtures can differ from place to place. We couldn’t find a residential provision we could verify and cite, and the manuals we read leave code compliance to the installer. If you’re unsure what your area requires, ask your local building department or a licensed plumber.
When to Call a Licensed Plumber
- The shutoff valve is corroded or won’t turn
- The fill valve won’t accept the T-valve, or a leak continues after you’ve re-seated the connections
- You’re wall-mounting and aren’t sure where the pipes run behind the wall
- You want to confirm what your local code requires
Follow Us on Facebook
Get weekly plumbing tips, honest tool reviews and DIY maintenance guides delivered straight to your Facebook feed. We cover bathroom fixtures, pipe maintenance and everything in between — written for US homeowners who want to handle more themselves.
Follow PlumbingToolsReview on Facebook →
Frequently Asked Questions
Q: Is a handheld sprayer harder to install than a bidet attachment?
Not usually. There’s no seat to remove and refit, so most people find it quicker. The extra decision is the mount, and the habit of turning the valve off afterward.
Q: Do I really need to turn the valve off after each use?
Brondell’s and SANICARE’s manuals both say so, and Brondell warns that leaving it on may cause flooding and water damage. Check your own kit’s instructions.
Q: Tank mount or wall mount?
SANICARE recommends the tank mount, and it needs no drilling. A wall mount gives you more flexibility, but you need to drill and avoid pipes.
Q: Does it use hot water or electricity?
The kits we checked connect to the toilet’s cold supply and have no electrical connection.
Q: What if I’d rather have a seat-mounted unit?
See our bidet attachment install guide.
Conclusion
A handheld bidet sprayer is a quick job for most toilets: shut off the water, fit the T-valve where your kit says, connect the hose, mount the holster and check for leaks. The one habit to build is turning the valve off after each use. If a valve won’t cooperate or you’re unsure about wall-mounting, a licensed plumber is the right call. To pick a kit, see our handheld sprayer review.
✍️ About This Guide
PTR Editorial Team — Plumbing Guides. We compare manufacturer specifications, installation requirements, compatibility and available product documentation to help homeowners choose suitable tools and parts. How we review →